How to fix cracking grout on tile floor
Understanding Why Grout Cracks
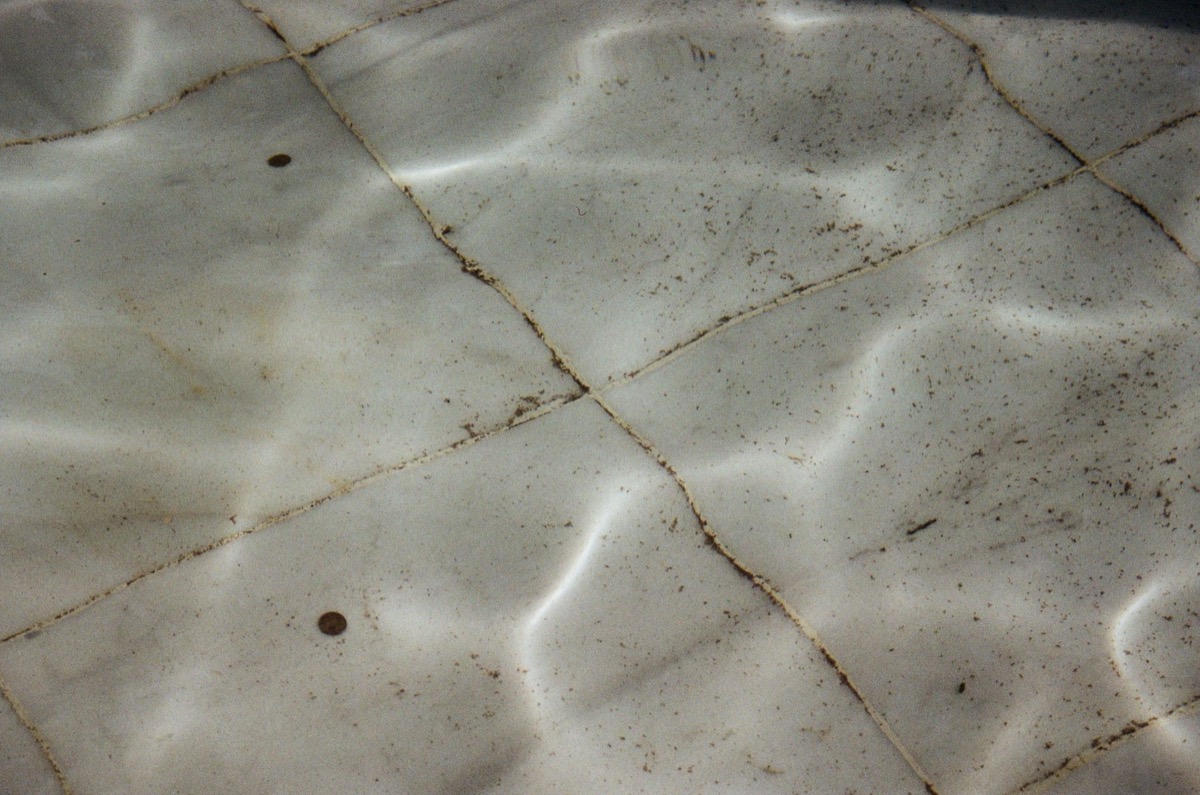
Cracking grout on a tile floor can be a frustrating issue, but understanding the root cause is the first step to an effective repair. Several factors can contribute to grout failure, ranging from installation issues to environmental changes.
One common culprit is improper installation. If the grout was mixed incorrectly (too much water or not enough), it can become brittle and prone to cracking over time. Similarly, if the grout lines were not adequately filled or if the substrate beneath the tiles is uneven, it can lead to stress on the grout, causing it to fracture. The Tile Council of North America (TCNA) notes that variations in the plane of the substrate can significantly affect the final surface and may contribute to issues like lippage, which can indirectly stress grout.
Movement is another significant factor. Houses settle, and temperature fluctuations can cause tiles and the underlying structure to expand and contract. If the grout is not flexible enough to accommodate this movement, it will crack. In some cases, the type of grout used might not be suitable for the specific application or environment.
Repairing Cracked Grout: A Step-by-Step Guide
Repairing cracked grout is a manageable DIY project that can restore the appearance and integrity of your tile floor. The process involves removing the damaged grout and replacing it with new material.
Begin by carefully removing the old, cracked grout. A grout saw or a utility knife can be used for this purpose. It's important to be precise to avoid damaging the edges of the tiles. Once the old grout is removed, clean the grout lines thoroughly to remove any dust or debris. A vacuum cleaner and a damp cloth are useful here.
Next, prepare your new grout mixture according to the manufacturer's instructions. For most repairs, a sanded grout is recommended for wider grout lines, while unsanded grout is suitable for narrower ones. Once mixed, use a grout float to press the new grout firmly into the empty lines, ensuring a complete fill. Wipe away any excess grout from the tile surface with a damp sponge, rinsing the sponge frequently. Allow the grout to cure for the time recommended by the manufacturer before walking on the floor or exposing it to moisture.
Preventing Future Grout Cracking
Preventing grout from cracking in the future involves addressing the underlying causes and using the right materials and techniques.
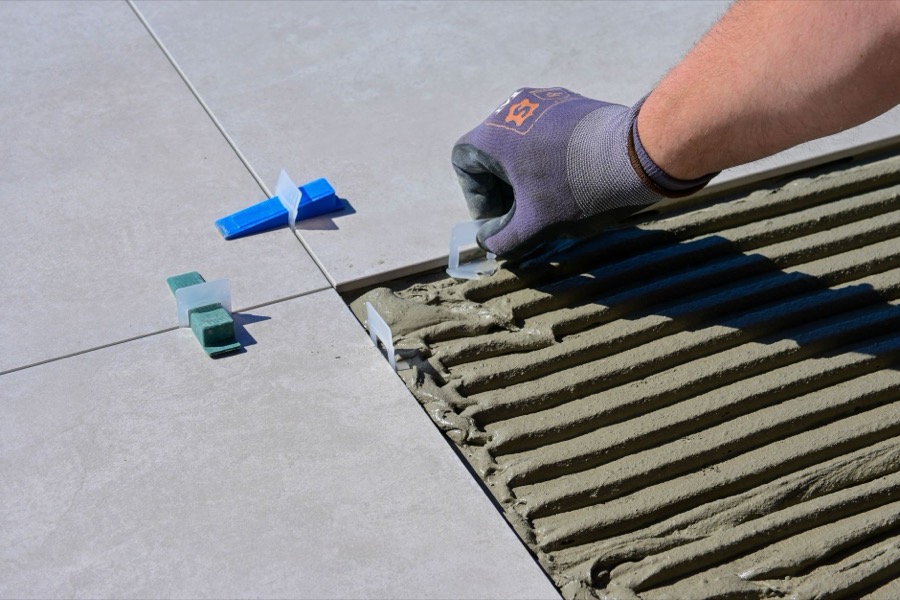
Ensuring proper installation is paramount. This includes using the correct grout-to-water ratio, filling the grout lines completely, and ensuring the substrate is stable and level. If you're unsure about the installation process, consulting with a qualified professional is always a good idea. For projects where you're calculating the amount of tile and grout needed, utilizing a free tile materials calculator can help ensure you have the right quantities, minimizing waste and potential installation errors.
Choosing the right type of grout for your specific needs is also crucial. Flexible or epoxy grouts can offer better resistance to cracking caused by movement and moisture compared to traditional cementitious grouts. Sealing your grout regularly can also help protect it from stains and moisture, which can weaken the grout over time and contribute to cracking.
Key takeaways
- Cracked grout can be caused by improper installation, substrate issues, or environmental movement.
- Repairing cracked grout involves removing old material and refilling with new grout.
- Preventative measures include proper installation, using flexible grout, and regular sealing.
Related tools
Estimate materials with our free tile materials calculator on TileMaterials.